I know I was just going to clean the car, but something has been bugging me about the previous pics but I couldn't lay my finger on it. Then I read
this thread on Pistonheads and thought it would be a good idea to apint the wheelarches and other underside bits with
this stuff. The whole car is made of plastic, so I'm not saving it from rust, but it will look smart and cover the more ropey bits of fibreglass finish that TVR left in hard-to-see areas. I cleaned the car with a
jetwash paying attention to the wheelarches and underside areas front and back, and the floorpan. I ended up doing this twice both times once with the foam on, then pressure wash off, and then again. Then I got busy with the mucky stuff. It has the consistency of butter at room temperature and there's no point in using a brush that you'd want to use again, but it went on OK. I did the wheelarches, floorpans and areas front and rear under the car. I didn't really get good pics, but here are a a couple anyway:
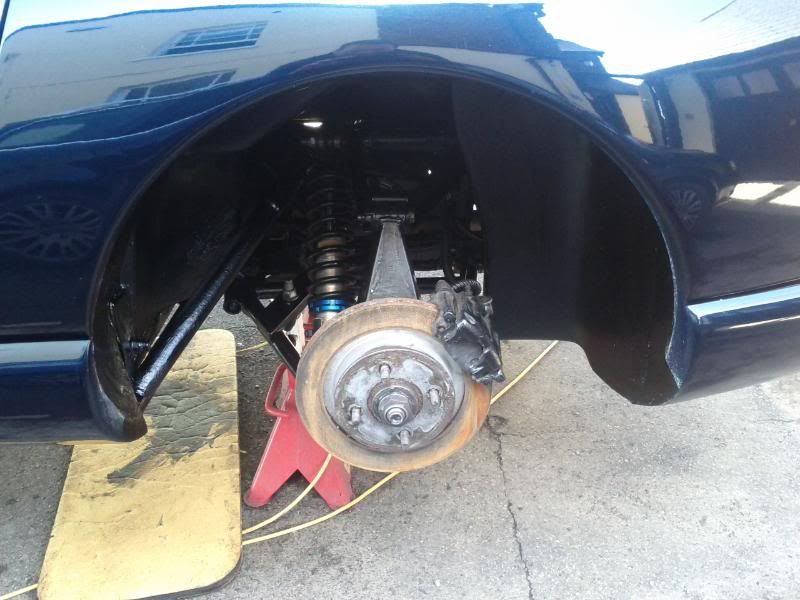
at the rear and:
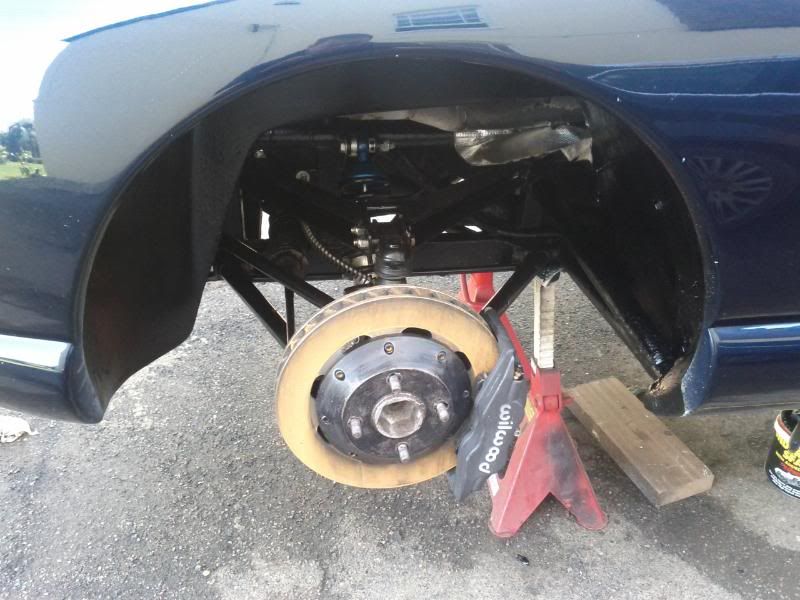
at the front.
Of course with the jetwash and a leave overnight, the discs went rusty, so now the weelarches look smart and the brakes look like I nicked them off a pikey encampment.
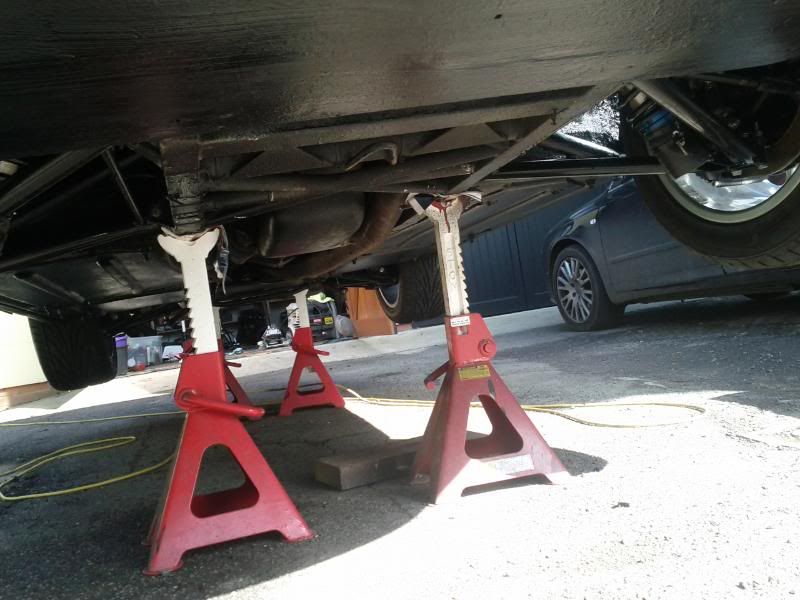
Hard to get a decent pic of the underside with a phone, so here's a crap one:
I did then clean the car. That sentence is very short considering the process was:
1) Jetwash with
foam and then rinse with pressure.
2) Dry off with manmade chammy
3)
Wash car with two bucket method and sponges
4) Dry car with manmade chammy
5)
Wash car with two bucket method and mit
6) Dry car with manmade chammy
7) Clay car with
normal compound clay
8) Rinse car with pressure wash
9) Dry car with manmade chammy
10) Clay car with
soft clay
11) Rinse car with pressure wash
12) Dry car with manmade chammy
13)
Machine polish car with DA buffer and Sonus deep swirl remover polish
14) Manually buff car
15)
Machine polish car with DA buffer and
Sonus extra fine polish
16) Manually buff car
17) Wax car with
Autobalm
18) Manually buff car
19) Finish with
high gloss sealer
20) Manually buff car
21) Degrease weels
22) Wash and rinse wheels
23)
Wax Wheels
The car is about as clean as it will get. It badly needs a respray, so I'm not claiming it's a thing of beauty, but at least it's clean after its winter hibernation:
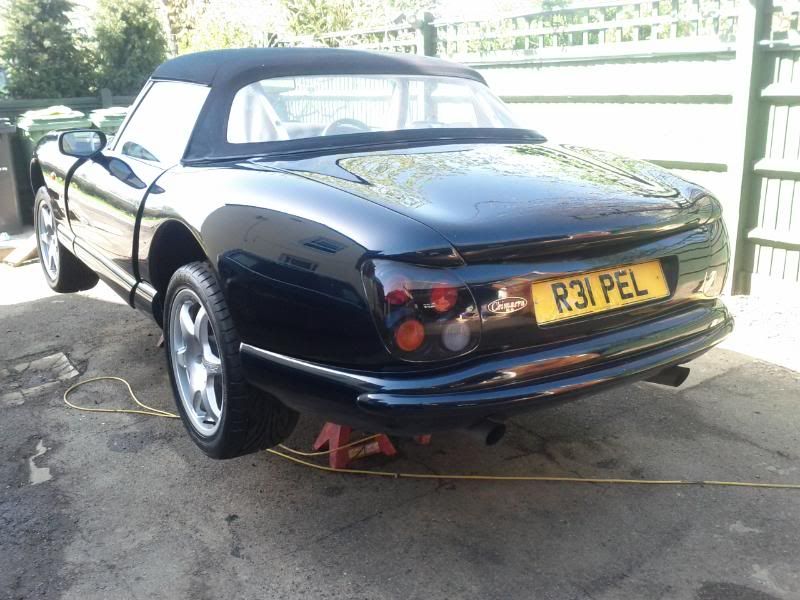
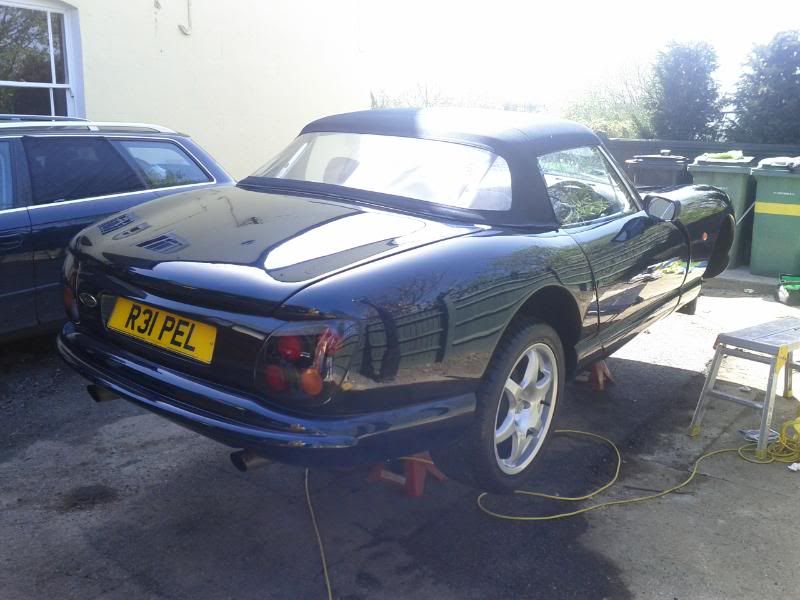
At this point in the photos, I hadn't put all the wheels back on because I was still bleeding the brakes. I bled the brakes a further 3 times in all. I did find that there were bubbles still coming out from the nearside rear nipple even after the 2nd time. Amazing. I still think the pedal pumps up though, so I am wondering about a possible master cylinder problem. While I'm still thinking about that, I took the dashboard out:
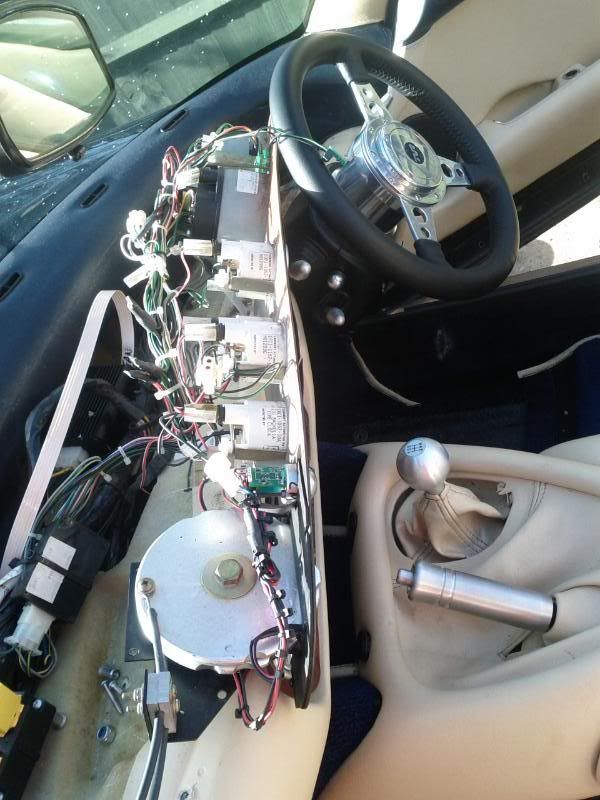
I have a new stainless steel one to go in from
Leven. This job is another one which is a pain in the arse.
Getting the dashtop off is a subject that a
couple of guys have had a go at, so I won't go on, apart from to mention that it's easier with the driver's side vent completely out. While taking these bits apart, it's clear what crap build quality this car has in places - I found a short piece of 1x1 wood with a load of 'no-nails' stuff stuck to it. Think it was supporting the dash in some way - can't work it out. I have got the radio panel out today also. I have a new Sony head unit to put in. It was half price at Halfords, and it's a Sony, so I'm not expecting much, but who cares about the stereo when there's a V8 up front anyway?


