Saturday 12 March 2011

Totally bushed.

During the work on the chassis, in parallel there was work going on on the wishbones. The rears that I showed before turned out great:

Photobucket

I was using POR15 paint with POR chassis black on top. Very pleased with this. Other one:

Photobucket

It's dried very hard indeed.

The others were coming on too:

Photobucket

These are the top fronts.

You may notice that all the bushes are now out. I took the wishbones along to a local garage who got them out (eventually). I thought that they'd just be able to press them out, but they're an awkward shape, so some of them needed some different techniques. Unfortunately these techniques took about 13 hours all in all, which at their hourly rate (which is not unreasonable) added up to about the cost of a completely new set of wishbones! If I'd known this before I embarked on this project (which was supposed to be cheap - my labour, a bit of labour from the garage's use of the press and some rust protective paint), I'd have just bought a new set of wishbones. Now that would be frustrating enough (but I could live with it - it's learning, and restoring these parts has been educational and fun at times), but the wishbone bushes were in and stuck fast, and some of the techniques used to get them out must have been fairly brutal. When I was painting the front lower wishbones tonight, I noticed that the there's been a pretty serious deformation. Here's how one side is (and how it should look):

Photobucket

and here's the other one from the other side of the car:

Photobucket

I know that this is hard to see in these photos (it's pretty obvious in the flesh), but you should be able to see that in the first of these two photos the tube that holds the bush is parallel with the square bracing steel to the lower left of it in the picture. In the lower picture (which is a closer view), it clearly isn't. You can see how the diagonal has been deformed, dragging the bush holding tube toward the brace. Even if it went back on the car (which I don't think it would), this would have a pretty drastic effect on the suspension geometry. This wishbone is now an ex-wishbone. I've ordered a new set of tubular lowers.

So this post is again a downer, and this time more than just my morale - it's hit me in the wallet! Ugh.

Mixed Bag

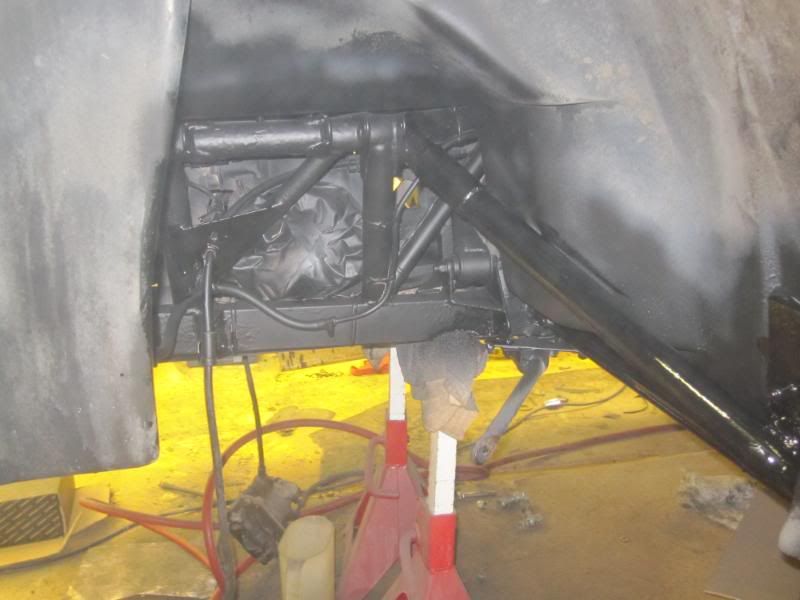
Well, this blog will be warts and all, so here we go. It's been a real mixed bag this week, and something of a (I guess) more downs than ups. But we'll get to that shortly. Last time I wrote that I'd cleaned up the chassis enough to take a primer, so that's what I did:

Photobucket

and:

Photobucket

The primer is a rust killing Hammerite product. The other side is roughly the same as this...

I then painted it with a number of coats of stonechip paint, first grey:

Photobucket

Photobucket

and then black:

Photobucket

Photobucket

before the first downer set in. My plan was to spray clear Waxoyl over this stonechip paint, so that it would not really show, but there'd be this extra layer of protection. So I grabbed my shutz gun and blasted away:

Photobucket

The coating of Waxoyl was about 1.5mm thick, and looks like a thin layer of snotty snow. I decided to grab a brush and brush it out. The results were less than impressive:

Photobucket

It looked OK with the stonechip, and given there was 4 coats of it on, probably would have lasted well. Now it looks more like the colour scheme of one of the Afrika Corps panzers. this is because in some places it just won't brush out nicely, and in some places it actually does brush out to something close to clear. Obviously it's not a very uniform coat. Mightily fed up, because this is really down to me being impatient and not giving it enough thought before getting to the action. It's basically gone on too thick out of the gun. Think I needed a lower pressure on the air feed to the sprayer. Because the pressure was high, it was hard to see how thick it was going on, and hence not a very uniform result.

I'm now wondering what to do. If I now try to spread it, it looks to take all the previous paint layers with it (because they're not fully hard). If I do nothing, then it will be ages until I can do anything, and the only course of action is to get the lot off and start again. I'm not sure there's another alternative. I suppose I can accept that although it looks crap, it will be very well protected, but that's a tough one to swallow. I'm still thinking about this one. The saying that is going round and round my head is "If it looks wrong, it probably is." Bugger.

This is all annoying, but it hasn't cost me very much in terms of money. Glad I didn't start this blog as a thread on a forum. I'd be awash in keyboard warriors by now.

Wednesday 9 March 2011

it's a dirty job...

Actually, I'm not joking - what I am undertaking here is a filthy job. I am not doing this next time (!), I will get all the bits off and then send them off for blasting. If I am organised enough (which I won't be).

This is how I'm working - the garage looks a mess, and it is, but the picture makes it look as if it's really cramped, which it isn't. I've got the car high as I can get on 6 tonne axle stands, as I've said before, it makes it easy to sit at wheel height, so not constantly getting backache.

Photobucket


Everything is off that is going to come off. Here are some pictures of one side of the car having taken everything off. It's pretty grubby under there. I can totally understand why people with TVRs who like a bit of spannering get the 'while I'm there' syndrome and end up taking the body off the chassis. I'm fighting that urge now - I really don't want to put my smartly painted up parts and new bushes etc. onto this chassis that isn't anywhere near looking as nice as the parts!

Photobucket

Photobucket

I've been at this chassis a bit today, and although I can't say it came up nicely, the idea is that I can get it at leasst prepped up enough to take a bit of stonechip paint so that these vunerable areas in the wheel arches stand a chance of standing up to the odd stone.

Photobucket

Photobucket

I also had a go at the wishbones. As it was a day with a touch of sunshine, I dragged a workmate and a selection of powertools outside to work:

Photobucket

I then set about the wishbones:

Photobucket

Stripped of everything:

Photobucket

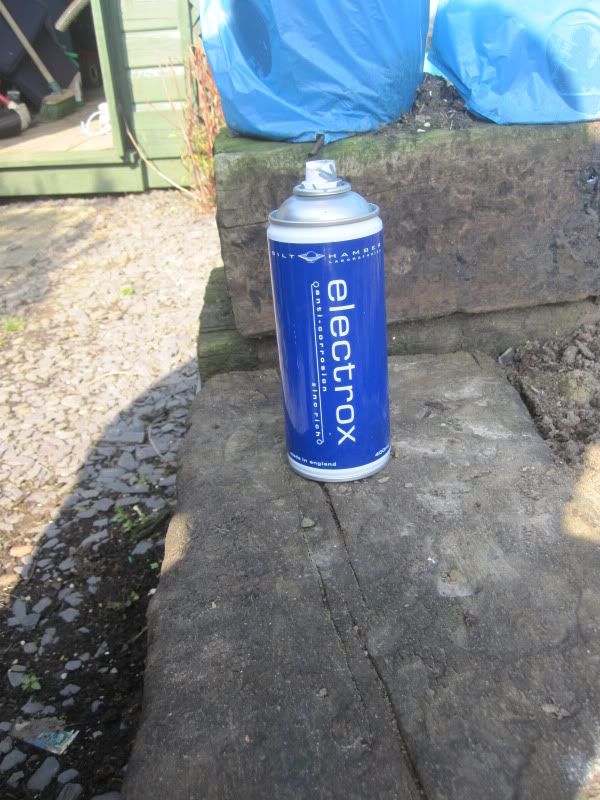
Painted it with this:

Photobucket

Looks like this in my impromptu spray booth (the shed):

Photobucket

We're coming on slow but sure on the refurb of the suspension. Also I need to change the driveshaft gaiters, as one has split. Trying to get the CV joint off, but am stuck here:

Photobucket

Going to have to get professional help, I think.

Followers